Monday 7 May 2018

How To Backup And Restore Stock Firmware in OnePlus 6

OnePlus 6 features a 6.28-inches display with a screen resolution of 1080 x 2280 pixels with Corning Gorilla Glass 5 protection. The smartphone is powered by Octa-core (4x2.7 GHz Kryo 385 Gold & 4x1.7 GHz Kryo 385 Silver) and Qualcomm SDM845 Snapdragon 845 processor coupled with 6/8GB of RAM. The phone packs 64/128/256GB internal memory. The camera on the OnePlus 6 comes with Dual: 16 MP (f/1.7, 27mm, 1/2.8", 1.12 µm, gyro EIS) + 20 MP (f/1.7), phase detection autofocus, dual-LED flash camera and 16MP front shooting camera.


OnePlus 6 runs on Android 8.1 Oreo out of the box with a Non-removable Li-Po 3450 mAh battery with Fast battery charging 5V 4A 20W (Dash Charge). It also has a Fingerprint sensor on the back. The handset supports Dual SIM with 4G. It comes with connectivity options such as Bluetooth, Wifi, USB OTG, 3G, and 4G.
Steps to Flash OnePlus 6 Stock Firmware

First of all enable the Developer Option, To Enable the Developer Option, Go to your Settings -> About -> Software Information -> More -> Now Tap on the Build Number 7-8 Times until you see a toast message “Developer option enabled".


Once your developer option is active, Go back to your settings -> Open developer option -> Enable USB Debugging. 

Download 
Extract the OxygenOs.Zip file.Copy the Extracted OxygenOs zip to the folder where adb installed.
➧Reboot your phone into recovery mode. To do this, shut down your device and turn it back on while holding the power and volume down buttons simultaneously. 


In recovery, choose “Install from USB” option in the recovery screen, tap OK to confirm. A screen with “You are in sideload mode” will be displayed.Connect your OnePlus 6 to PC/Mac using the USB Cable.Now in your PC, open the extract ADB Fastboot folder and Press and hold the Shift key and Right click on your mouse to open the command prompt window.


Now type the command in your command window.
adb devices

➧If you see a pop up to allow USB Debugging on your phone, Click OK.
Now flash the OxygenOSZip file using the below command. (filename is the downloaded zip file name)

For Windows: “adb sideload <filename>”
For Mac/Linux: “/adb sideload <filename>"


Wait a while, your phone should now update to the selected build and reboot automatically to take you into OxygenOS.


Friday 27 October 2017

How To Unlock Bootloader And Flash Stock Firmware In Moto E XT1022

Unlock Bootloader In Motorola E XT1022
Prerequisites:

1) To get started, take a complete backup of personal data in your smartphone using appropriate apps since the procedure given here is a data-loss process.

2) Next, download Motorola Moto E USB driver and install it on your computer. Only by installing USB driver, you will be able to connect your Moto E with the computer.

3) Now, enable USB debugging mode in your smartphone first by enabling “Developer Options” in your device by following this path: Settings -> About Phone -> Build Number (tap on it until you see the message “You’re a Developer now“). Once done, enable USB debugging by following this path: Settings -> Developer Options -> USB debugging.

4) Ensure that you have deactivated or uninstalled antivirus programs in your computer as well as 
Moto E XT1022. Also, ensure that your device has at least 50-60% battery backup in it before getting started with the rooting procedure.

Once you have finished these tasks, you can move forward to the tutorials given below.
Tutorial To Unlock Bootloader In Moto E XT1022:
1) To get started download Minimal ADB and Fastboot and install it on your computer. Once done, launch its command prompt window.

2) Next, switch off your smartphone and boot it into the bootloader mode by pressing the Volume Down, Power and Home buttons simultaneously. Now, connect your smartphone to the computer using the original USB data cable and enter the following command in Minimal ADB and Fastboot command window:


$ fastboot OEM get_unlock_data


3) Now, copy the OEM Unlock data string and save it in a notepad.


4) Next, visit Motorola Bootloader Unlocking webpage and sign in to your Motorola account (if you don’t have one, sign up for it). Now to check whether your device’s bootloader can be unlocked, enter the OEM unlock string in Option 6 and click on “Can my device be unlocked“.


5) If your device can be unlocked, you will see the “Request Unlock Key” option as shown in the screenshot below. Click the blue button.


6) Once you have clicked the “Request Unlock Key” button, Motorola team will mail you the unlock key.


7) Next, copy and paste the unlock key to a notepad in your computer. Next, enter the following command along with unlocking key:


fastboot OEM unlock your-unlock-key (replace your-unlock-key with the key you have saved in the notepad)


That’s it. Now you have successfully unlocked the bootloader of your smartphone. For confirmation, reboot your device and then boot into the bootloader mode by pressing and holding the Volume Down, Home and Power Buttons simultaneously for few seconds. If you have successfully unlocked the bootloader, then you will get a warning message as shown in the screenshot below.


Now Flash Stock Firmware In Motorola E XT1022

 Prerequisites Download Files:-

1- Moto Auto Flash Tool v6.6 By TECH Poison Click Here To Download
2- MInimal ADB and Fastboot Click Here To Download
3- Stock Firmware - Click Here To Download
Unlock Bootloader And Flash Stock Firmware Full Video Tutorial

Flash Lollicraft OS Custom ROM in Micromax Unite 3 Q372 With Custom Themes Apply

Lollicraft ROM 
REQUIREMENTS:-
1.) ROM Link:- Click Here to Download
2.) Factory Reset Script File:- Click Here to Download
3.) Gapps:- Click Here to Download
4.) 3G Patch File:- Click Here to Download

Procedure:-

1.) Reboot To Recovery.
2.) Take a Nandroid Backup.
3.) Power Off.
4.) Power Button + Volume up + Volume down On Hold.
5.) Select Recovery Mode Volume up
6.) Select Wipe and Format Options.
7.) Select Wipe Cache options Clear the Cache.
8.) Click Custom Format Option And Click Format System then Format data The Clean to install a New Rom.
9.) Flash LollicraftRom.zip and Gapps Files.
10. Flash Factory Reset Script File.
11.) Flash 3G Patch File.
12.) Reboot Now.


Enjoy !!
Fully Working !!


Important Notice:- For Invalid IMEI Download The Chamelephone App To Write UR IMEI

Flash Lollicraft In Micromax Unite 3 Q372 Full Video Guide

Thursday 26 October 2017

How To Flash Custom Phiz Recovery in Micromax Unite 3 Q372 With PC

Hello geeks, as I know many of them are having interest in trying new ROM and customizing their device but it needs two main things first is rooting and second is a custom recovery which will be discussed over here now. many android geeks think that the next step after the rooting is to install the custom recovery. By custom recovery, you will able to make great changes and modification in your device. finally, the good news is that the stable recovery for Micromax unite 3 Q372 has launched


Let's come on recovery.

Required Files

1) Phiz Recovery - Click Here to Download
2) SP Flash Tool - Click Here to Download
3) Media take Root And Recovery Tool Kit - Click Here to Download
4) Beta Super SU.Zip Click Here to Download

Watch This Video To Flash Phiz Recovery Full Tutorial

Tuesday 24 October 2017

How To Flash Stock Firmware In Micromax Unite 3 Q372

Today I will guide on How to Install Stock ROM on Micromax unite 3 Q372. In this guide, we have used SP Flash tool aka Smartphone flash tool to flash the Stock Firmware on Micromax Unite 3 Q372. To flash the Stock ROM on Micromax Unite 3 Q372, you need to first download all the proper drivers and tools which are listed down below in the pre-requisite menu. Once you downloaded, please make sure to download the official Stock Firmware for Micromax Unite 3 Q372.
This guide is simple and easy to follow. We have listed the Official Stock ROM for Micromax Unite 3 Q372 below. Download the required file to either upgrade or downgrade your Micromax Unite 3 Q372. Learn How To Install Stock ROM On Micromax Unite 3 Q372 pushing the below Guide and use the SP Flash Tool Software to flash any official Stock Firmware on Micromax Unite 3 Q372. To flash any firmware, you need either PC or Laptop. If you do have a laptop or PC, then, first of all, install the smartphone flash tool to install Stock ROM on Micromax Unite 3 Q372.


Install Stock ROM On Micromax Unite 3 Q372 (Official Firmware)

Download the ROM from the below download link. Stock ROM always come in handy when your phone is bricked or entered into any Bootloop stage. You can also update your Micromax Unite 3 Q372 smartphone anytime, also you can install the Stock Firmware build to revert back to old version also. In case if you have bricked your device, then you can bring back the phone (Unbrick) using the stock firmware anytime. Also if you feel your Micromax Unite 3 Q372 lag or has an issue, then flash the stock firmware from the list below and save from situation. Stock Firmware doesn’t void a warranty on your Micromax Unite 3 Q372.

Advantage Of Flash Stock Firmware:

  • To Unbrick your phone
  • Fix the boot loop problem
  • Upgrade and Downgrade your phone
  • Unroot or Fix Bugs on your phone
  • To fix the lag or stutter
  • By flashing Stock ROM, you can solve software problems.
  • Revert back to stock to gain your warranty.
PREREQUISITE :

  • Download the SP Flash Tool: Download and Extract it
  • VCOM driver Download – Install the VCOM Driver on your computer (still compatible with MT67xx phones)
  • Charge your phone to at least 70%
  • Back up your device just in case if you need it later
  • You need either Laptop or PC

                        DOWNLOAD FILES

Watch This Video To Guide How To Flash Stock Firmware in 

Micromax Unite 3 Q372

Monday 16 October 2017

How To Wireless File Transfer Between Android And PC


Thinking about wireless file transfer between your Android device and PC?
Then the first thing that comes to your mind is connecting devices via Bluetooth. Yes, it’s one method that helps you to transfer files between your phone and PC without using USB cable.
But today am going to talk about connecting your Android device and PC/laptop via Wi-Fi and then transferring files at lightning speed.
As we know, there are many approaches that come to our mind, when we think of transferring files between our Android device and PC like — via USB cable, Bluetooth, Cloud, Infrared etc. But why do we choose Wi-Fi to interconnect Android and PC?

Features of Wireless File Transfer:

  • Accessibility —  easy to connect to any device because Wi-Fi connectivity is available in every device.
  • Speed — unlike any other method, wireless file transfer gives the advantage of lightening file transferring speed.
  • Sync anytime — since wireless file transfer method need only an Android device with portable Wi-Fi hotspot (with/without internet connection) to create a Wi-Fi network, so you can synchronize your files between phone and laptop anywhere, anytime.
  • Secure — If you are using your device’s Wi-Fi hotspot feature to transfer files wirelessly, then you don’t need to be afraid of the data breach by cybercriminals. [Always avoid file transferring over public Wi-Fi ]

How To Do Wireless File Transfer Between Android And PC:

Here, we are using a simple Android application to transfer files between Android device and PC without USB cable. The tool we prefer for wireless file transfer is — Xander.

Why I chose Xender over other Wi-Fi file transferring Android applications —
  • Easy user interface
  • Can connect devices within seconds
  • Awesome file transferring speed
  • Can transfer files from Android to Android, Android to PC/laptop and vice versa and Android to Windows/Mac.
  • Wireless file transfer is possible even with or without the internet connection
  • Cross-platform support — app available for Android, iOS, and Windows.
The only thing I hate about Xender is that, with every update, it changes its user interface that shifts the positioning of the setting options every time.

So, in short, this tutorial is going to be how to use Xender to transfer files wirelessly or without USB cable between Android and PC.
Easy and Speedy Wireless File Transfer With Xender:

First, you have to install the latest version of Xender from Google Play. As I already mentioned you can do wireless file transfer in Xender with or without an internet connection.

So we are discussing two methods here.
Method 1 — Transfer Files Wirelessly In Xender Without Internet Connection:

1. First, open Xender app. From the options choose “Connect to PC“.

2. Since you are going to transfer files without using a data connection, so tap the circular button to turn on your device’s hotspot.

3. Next step, in your laptop/PC, connect to the Xender wifi network.

4. Now open your computer’s browser and enter the URL provided in the Xender screen. (http://192.168.43.1:33455).


5. Next “Accept” connection permission that pops up on your phone to initiate wireless file transfer between your smartphone and computer.


6. That’s it. Now choose any category on screen or file manager to upload and download files via Xender without the internet connection.


Method 2 — Transfer Files Wirelessly In Xender With Internet Connection:

If you like to transfer files in Xender with an internet connection, then make sure your Android smartphone and computer are connected over same WiFi network that has internet access.

After that instead of tapping that circular button — that we mentioned in Step 2 of the first method — just open your computer’s browser and enter “http://web.xender.com“. And then tap “SCAN” on smartphone and scan the QR code displayed on your browser screen to initiate a connection.


That’s it. The only difference between wireless file transfer via Xender with and without internet connection is while using the internet you have to scan QR code to interconnect Android smartphone and computer whereas with no data connection you have to connect devices via hotspot.

So how is Xender working out for you? Do you find wireless file transfer via Xender is quite easy when compared to other.methods or tools? We would like to hear your opinions in the comment box below.

Wednesday 4 October 2017

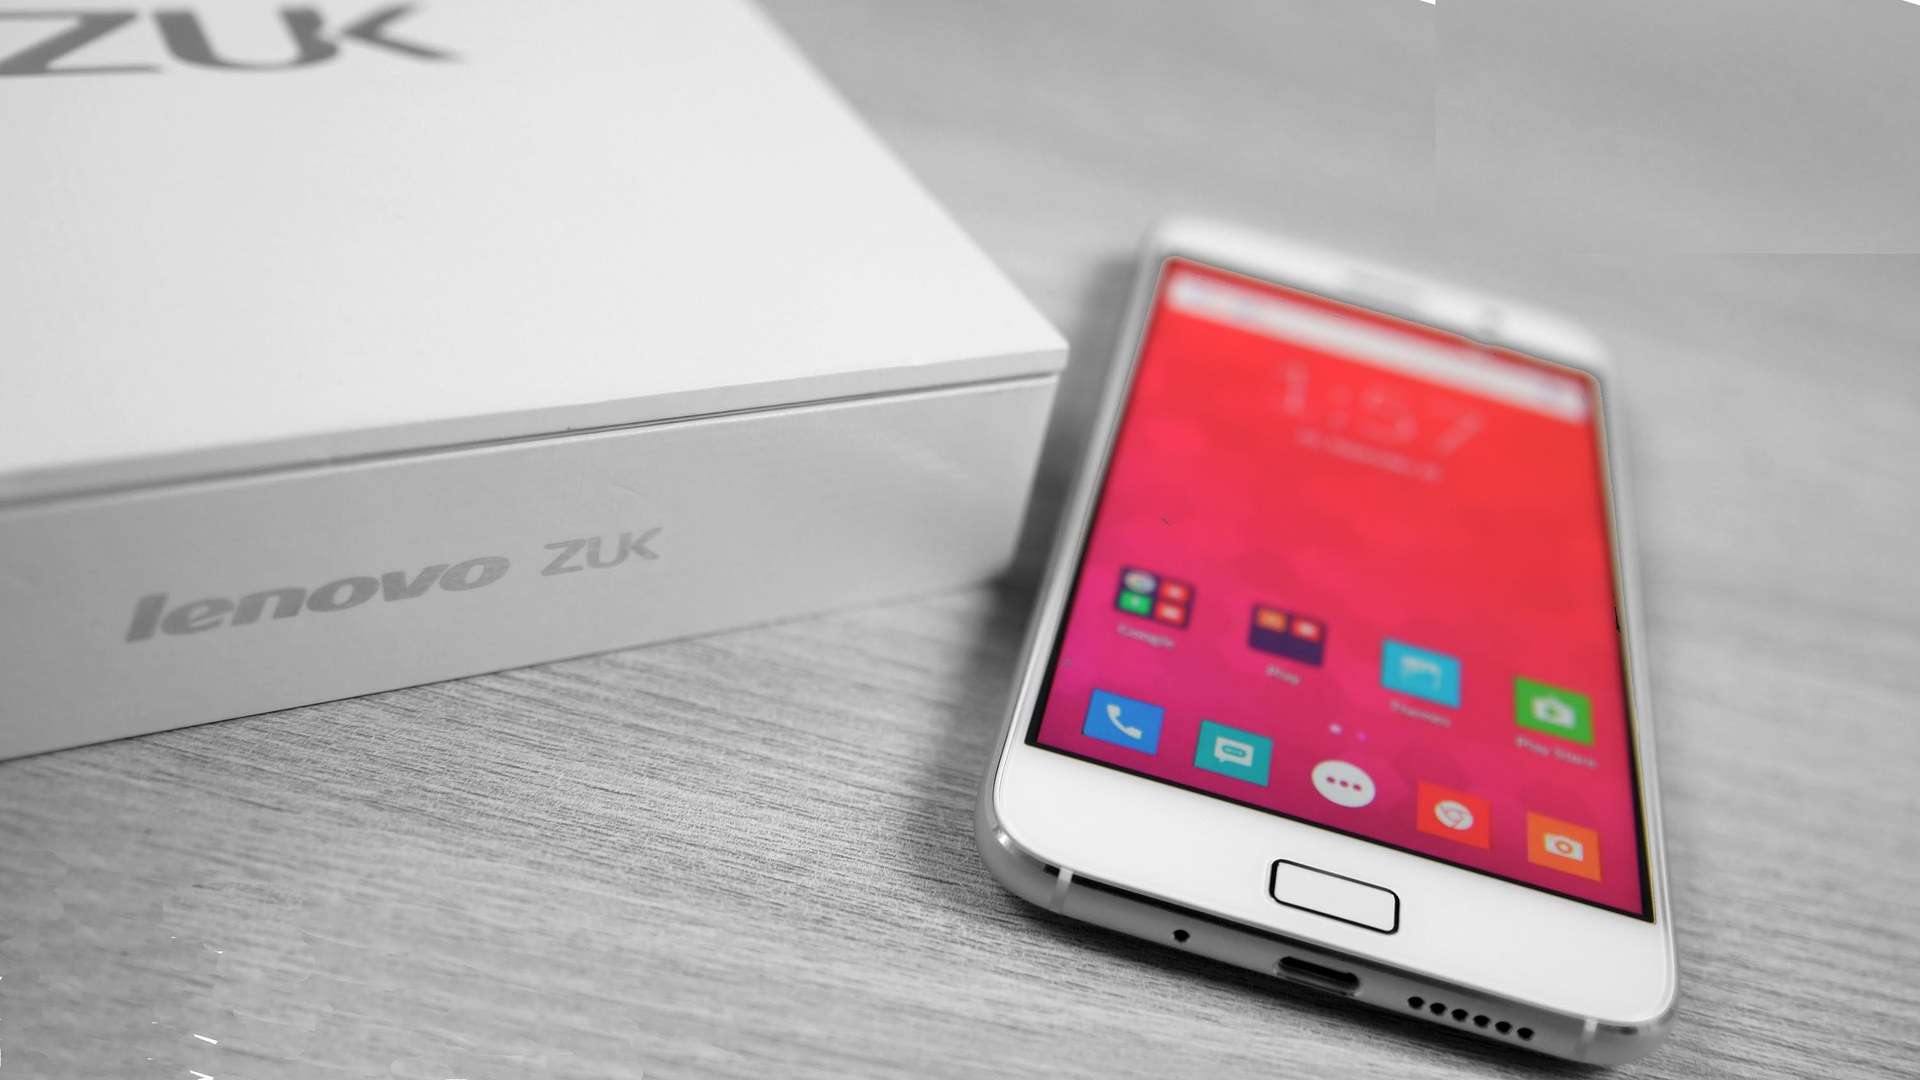
How To Flash Nuclea Custom ROM (Marshmallow 6.0.1) Official Stable On Lenovo Zuk Z1


-If you have a major bug to report that has not been reported already and is not a known issue with CM,
please take the following steps to report it to us. It will save you time, as well as us.

-Download the Catalog app from the Play Store.
There is also a donate version which you can purchase to show appreciation.
-After downloading the Catalog app, go to the app settings, and change the log level to Debug.
-Clear all previous logs and take the exact steps to produce the error you are receiving.
-As soon as you receive the error (probably a force close), go straight into Catalog and stop the log recording.
-Copy and paste the entire log either to Pastebin or Pastebin
-Save the log, and copy and paste the link into the forum with a brief description of the error.
-You can also open trouble tickets on our website for bugs.


NOTE: For optimum operation of the ROM, it is recommended to carry the same firmware that provides its nightly CM. Flash before the last published nightly or zip with firmware. Make sure to use a recovery that flashes partition correctly.


- New Install:
  • Download ROM 
  • Download UPDATED GAPPS 
  • Wipe system,data,cache,dalvik 
  • Flash Rom 
  • Flash Gapps 
  • Flash UKM to control kernel settings using Synapse app (optional) 
  • DON'T FLASH SUPERSU 
- Update: 
  • Flash Rom 
  • Reboot 
FEATURES:
  • Based en CyanogenMod 13 
  • Android 6.0.1_r66 
  • Nuclear Settings 
  • Customizable status bar (clock position, date, network indicators, battery-style...) 
  • Gesture Anywhere 
  • Exclusive Nuclear Boot 
  • Switch from 1 column Setting to 2 column 
  • Switch To Hide SuperSu from Status Bar 
  • Qualcomm Assertive Display 
  • Lockscreen quick unlock 
  • Network traffic indicator 
And more...
LAST VERSION

NucleaRom-V2.3.9-OFFICIAL[6.0.1]-ham-20160930-0803


Video Guide To Flash Nuclea  OS In Lenovo Zuk Z1

How To Flash Mokee OS Custom ROM (Nougat 7.1.2) Official Stable On Lenovo Zuk Z1


Features:

(I will mention only that which does not take into Lineage OS)
Update over the air can download the download website only incremental, it helps lower faster update and upgrades more easily:
Some icons and own layouts
Ringtones, Alarms, Notification, UI sounds are all different Lineage OS, thus bringing a beautiful charm to ROM
Own boot animation
Aegis: Power Saver
Yu Browser
information integrated into MokeeCenter
Settings to add Network speed for incoming and outgoing
Settings for Navigation Bar
Settings for Statusbar
Intelligent control settings to configure the newer apps and others

What is the difference?

RELEASE: Tested after integrating new features, more stable than NIGHTLY. (Odexed builds)
NIGHTLY: Built daily with the newest code and experimental features, might contain undiscovered bugs. (Deodexded builds)
HISTORY: Final added builds once a newer Android version is out and being built.
EXPERIMENTAL: Released when a new device is added or when a new feature is added for public beta testing and feedback. (Deodexded builds)
UNOFFICIAL: Maintained separately by individual developers, usually involves modification of shared code which cannot be merged (affects other devices), therefore maintained by the developer himself.
Note: We always test the shared code for bugs, however sometimes we may not be able to detect device-specific bugs. If you have such issues, it will be better to report to the device maintainer.


Hardware
CPU:  Qualcomm® Snapdragon™ 801
RAM:  3GB
ROM:  64GB
Battery:  4100 mAh
Display:  5.5 inch, 1920x1080 pixel(401ppi)
CPU Arch:  ARM


Download Installation Official Files:


ROM OS Version: 7.x Nougat
ROM Kernel: Linux 3.4.x
ROM Firmware Required: Custom Recovery
Based On: Lineage OS

Version Information
Status: Nightly

Mokee OS Flash In Lenovo ZUK Z1 Full Video Guide 

Tuesday 3 October 2017

How to install Viper OS 7.1.2 (Nougat) on Zuk Z1

Get more information about ViperOS on our telegram group

Note: The builds are updated as soon as possible. There is no compilation cycle. Information about the device is displayed
properly. The current build is the latest build for your device. If the device is
scheduled to be released on a particular day, but the new build is not being displayed,
contact the maintainer of your device for more information, but wait at least 72 hours.


Features:

Status bar Customization

- Customizable icons
- Quick pulldown
- Smart pulldown 
- Notification count
- Clock position
- Seconds in clock
- Date design

Quick Settings

- Brightness slider
- Brightness icon
- Tile tap customization
- Header customization

System

- Power menu customization

-UPDATE INSTRUCTIONS-

- Download the latest build of ViperOS ROM
- Take a nandroid backup
- Flash ROM using recovery
- Flash Gapps
- Wipe cache
- Wipe Dalvik cache
- Reboot
- Enjoy!

Development
Viper OS Brasil Team

Base
Lineage OS

Credits
crDroid Android
CypherOS
AICP
PureNexus
AOKP
Dirty Unicorns
Paranoid Android
and more...

ROM OS Version: 7.x Nougat
ROM Kernel: Linux 3.4.x
ROM Firmware Required: Unlocked Bootloader, TWRP Recovery
Based On: Lineage OS

Version Information
Status: Stable
Current Stable Version: V-2.1
Stable Release Date: 2017-07-14

Created 2017-06-05
Last Updated 2017-07-14
-Installation Files-


Video Guide to Flash Viper OS On ZUK Z1


Monday 2 October 2017

How To Flash Dirty Unicorns v10.4 Unofficial 6.0.1 Official Stable Custom ROM in Lenovo Zuk Z1


About Us:
 Dirty Unicorns is a project that started out with no name. It was a project that was first based off AOKP back in the early days of Jelly Bean. In the early days -- it was just a one-man show on one device, the EVO 3D. Since then, many others have joined the project and it has grown exponentially.

We have seen a lot of talent contribute to this project of ours. Big or small, the focus was always on contributing to the community. That is ultimately why we do what we do. After Jelly Bean, we decided to move to a new base, OmniROM. While AOKP was fun, OmniROM proved to be an even more exciting base because it challenged us to see what we could do with a project that had different goals in mind. We learned a lot and gained contributors in the process. With Lollipop, we moved to an AOSP base with a lot of patches from CAF to make our older devices function as they should. We grew further with experience and learned a lot more along the way.

It has been an awesome learning experience and it's still not over! We are still learning, striving to grow each day, and continuing to move forward. Lastly, we DO NOT accept, nor ask, for donations. We do not believe in that. Everything that is necessary to keep this project going comes out of our own pocket. Gerrit, Jenkins, Web sites, Devices, etc. We will never ask for a dime. All that we do ask is that you have patience, search for answers prior to posting, read, and try to enjoy the process with us.
Version 10.5
- Lots of translations
- Update to Android-6.0.1_r62
- New DU logo for QS navbar/fling tile and keyboard
- Added revert recents in OmniSwitch
- Bring back basic group support
- Enable support for groups in External contacts accounts
- Sync citylist handling with upstream in DeskClock
- Fix crash when no storages are available
- Fix concurrent access to mStorages
- Disable all ListView and GridView selectors in OmniSwitch
- New DU logo everywhere
- Added ability to change location sensors mode in quick settings
- Added Solid bar sanity levels and Lavalamp anim speed
- Fix lock insanity with ActivityManager
- Fix and remember state with OmniSwitch's launcher mode
- Allow immersive options for Slim Recents
- Move LockClock up per request
- Fix notification panel can't hide in statusbar
- Enable camera hal v3 interface
- Disable cellular networks settings menu if airplane mode is enabled
- Set upper limit of 40 FPS on Pulse's renderer drawing
- Added Proximity wake on selected devices
- Fixed NPE in Messaging app
- Add tabs transitions effects in DirtyTweaks
- Add a blank footer to System app remover
- Add ability hide/show app launcher icon for OmniSwitch
- Make sure screenshot Qs and power menu icons match
- Fix volume timeout derp
- Get rid of ugly dialog in radio info
- Adjust padding between battery icon and text
- Add CPU info overlay
- Add backup services to the whitelist after the android-6.0.1_r54 merge
- Remove navigation bar option in Extended desktop settings conditionally
- Pulse 2.0 Advanced Audio/Visual Rendering
- Fix SmartBar alpha when pulse enabled and music paused from lockscreen
- Update DU Certified to v2.3

For a more detailed change log, check http://gerrit.dirtyunicorns.com/#/q/status:merged,n,z

Download Links:

ROM Flashing Guide With Video Proof

How To Flash Resurrection Remix-N v5.8.1 Official Stable Custom ROM in Lenovo Zuk Z1

Resurrection Remix the ROM has been based on LOS, Slim, Omni and original Remix ROM builds, this creates an awesome combination of performance, customization, power and the newest features, brought directly to your device.

Many things that in previous versions were tweaked with mods are now included by default in the ROM so, please enjoy!

Special thanks to LOS Team, OMNI Team, SlimROMS and of course to all the supporters.

Image result for Resurrection Remix Official Stable ROM in Zuk Z1

Resurrection Remix Nougat
¤ ¤ ¤ Included Main Features ¤ ¤ ¤

Resurrection Remix Nougat


RR Customizations:
Status bar:
·        Navigation Bar
·        Enable/Disable Navbar
·        Navbar Button Customization
·        Navbar Slim Dim
·        Animate Dim
·        Dim Timeout Duration
·        Dim Alpha
·        Double Tap To sleep navbar
·        Navigation Bar left/Right handed mode Switch for landscape

·        Brightness Slider
·        Enable/Disable Show Notification Count
·        Super User Indicator Switch
·        Double Tap To sleep Status bar
·        Carrier Label
·        Carrier Label Switch
·        Carrier label Colour
·        Carrier Label Size
·        Clock Customizations
·        Time & date
·        Clock Colour
·        Day & date Google
·        Centre/Right/Left Clock Choice
·        Date Format
·        Clock Font Styles
·        Battery
·        Battery Bar customization
·        Battery Icon Customization(circle/landscape/Portrait and more)
·        Battery % Text
·        Network Traffic Indicator
·        Network Traffic Arrows Switch
·        Incoming/Outgoings Traffic
·        Network traffic Colour

Pie:
·        Pie Trigger(left ,Right ,Bottom)
·         Pie Targets
·        Pie Colors
·        More Pie Features

Status bar RR Logo:
Animations:
·        RR logo Color
·        StatusBar Weather
·        Weather Color
·        Weather Position(left/right)
·        Weather Style
·        Weather Size

·        Toast Animations
·        ListView Animations
·        System Animations
Gestures:
App Circle Bar:
·        Gestures Anywhere Feature
·        3 Finger Swipe Screenshot Gesture

·        Choose apps in app sidebar
·        Trigger Width
·        Trigger Height
·        Trigger Position
·        App Sidebar
·        Choose apps in App circle
·        Trigger Width
·        Trigger Height
·        Trigger Position

Recent Panel:
·        Clear All button Switch
·        Clear All Tasks Switch
·        Clear All Button Location(Top right,Top Left,Top Center,Bottom Left,Bottom Right,Bottom Center)

Recent Search Bar:
Clock Widget:
·        Full Screen Recants
·        Slim Recants
·        Omni Switch

·         Clock And Alarm Customizations
·         Weather Panel Customizations
·         Calendar Events

Lock Screen:
Quick Settings Drag-able Tiles:
·        Lock screen Bottom Shortcuts
·        Lock screen General Shortcuts
·        100+ Icons for Shortcuts
·        Double Tap to Sleep Lock screen
·        Lock screen Media Art/Enable Disable
·        Quick PIN/Pattern Unlock
·        Lock Screen Blur
·        Lock screen Blur Intensity
·        Lock Screen Wallpaper
·        Lock screen Weather Widget
·        Lock screen Icons Colour

Buttons:

·        Backlight Timer
·        Backlight Strength

Advanced Reboot Menu:

·        Power Menu Customizations
·        Power Off
·        Reboot(Recovery, Bootloader, Hot Reboot)
·        ScreenShot
·        Power Menu End Calls Switch
·        Restart SystemUI
·        Airplane Mode
·        ScreenRecord

On the Go Mode:

·        Sound Panel
·        Home Button(For devices with HW keys Only)
·        Home Button answer call
·        Long Press Actions
·        Double Tap Actions

Menu Button(For devices with HW keys Only)

·        Short Press Actions
·        Long Press Actions

Font Size:

·        LOS privacy guard
·        Performance Tweaks(Kernel Auditor Inbuilt)

Super SU Inbuilt

·        RR OTA
·        LOS Theme Chooser
·        Over All Smoothness Improvements
·        Optimizations to Improve Battery
·        Includes All Android Marshmallow Features
·        Includes ALL LOS 13 Features


·        Customizable Tiles
·        Show Two Main Tiles Per Row
·        Dynamic Tiles Adjustment
·        Notification Drawer
·        Weather Display Switch
·        LongPress Toggles to Enter Settings
·        Disable Immersive Mode Messages
·        Force Expand Notification
·        Task Manager Switch
·        Time Contextual Header(HD, Modern, Poly)
·        Quick Pull Down Switch

Search Button(If Device Supports)

·        Short Press Action
·        Long Press Action

Volume Buttons:

·        Wake Up Device
·        Playback Control
·        Ringtone Volume Control
·        Keyboard Cursor Control
·        Swap Buttons on Landscape mode
·        Volume Key Answer

Miscellaneous:

·        Selinux Switch (Switch Between Permissive and Enforcing SELinux if Device has SELinux Enabled)
·        Clock Shortcut
·        Disable Battery Saver Warning Color
·        Disable Fc Notifications
·        Wakelock Blocker
·        Media Scanner On Boot Behaviour
·        Camera Shutter Sound Enable/Disable

System UI Tuner:

·        Enabled By default
·        Removed Demo mode and Tweaked System UI Tuner As compared To AOSP
·        Status Bar Icons Customizations
·        Quick Settings Customizations

Other Features:

·        Performance Profiles
·        LCD Density
·        Expanded Desktop Mode
·        Audio FX
·        Heads Up Switch
·        Live Display
·        Configurable 0,90,180,270 Degree Rotation
·        Lock Screen Auto rotate Switch
·        Native Tap to Wake From Marshmallow
·        Double Tap Power Button To enable Camera gesture
·        Prevent Accidental Wakeup
·        Wake Phone on Charging Plug
·        Battery Light Customizations
·        Notification Light Customizations


   Download Recommended Files


RR-N-v5.8.1-20170208-ham-Official.zip

2017-Feb-07 21:10:56

218ac87c18df279296b4e924f58bc32c

12303

370.42MB


ROM Flashing Guide Full Video